Thinking about renovating your kitchen? Our friends at Cromly have collected some great design tips:
Undertaking a kitchen redo but don’t know where to start? Read on as we take you through each step of this seemingly challenging home project.
Planning a kitchen renovation (or any reno project for that matter) can be pretty overwhelming—there’s so much to do, so much to consider, where oh where does one start?
Clare Steel, author of the book Step-by-Step Home Design & Decorating, says, “The sheer number of components involved in redesigning a kitchen means that it requires particularly careful scheduling. The majority of your time will probably be spent preparing for the kitchen to be fitted, but if you do this job properly, the rest of the refit should run smoothly.”
Use our notes below as your guide to get you started.
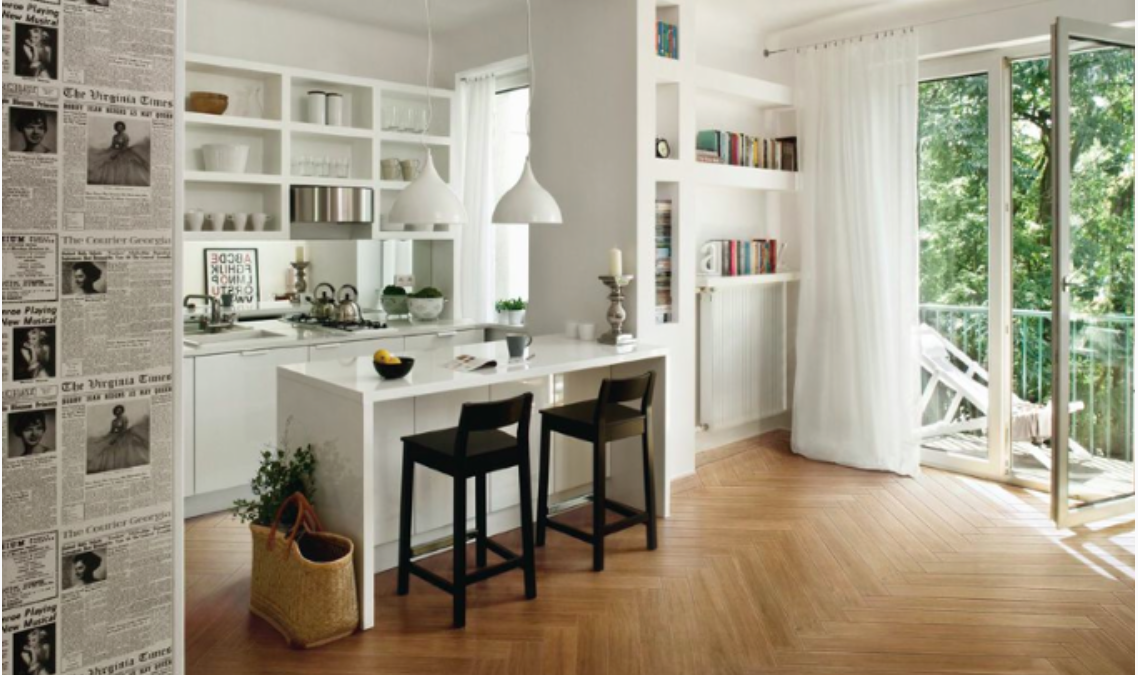
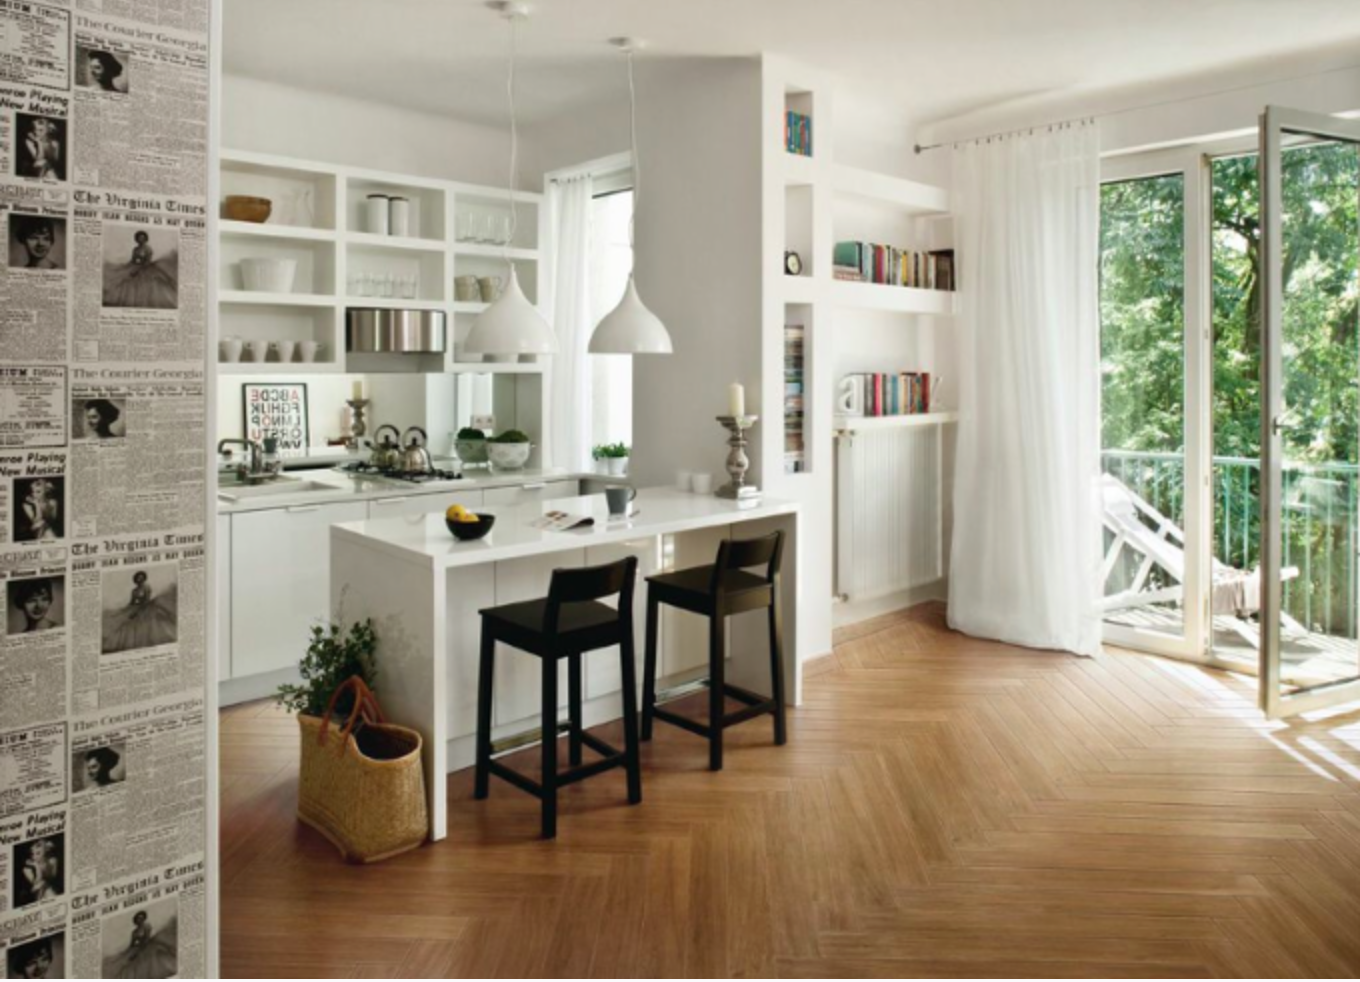
Step 1: Work on your dream kitchen layout

When fixing your kitchen, remember that it’s not just about placing your appliances and furniture where you wish. You have to consider following a proper work triangle so as not to make working, cooking, or populating the kitchen so difficult. Take note as well what budget you’re willing to work with; it’s better to determine this as early as now, so that you’ll have a guide on how much to spend and what specific elements you’ll need to purchase.
Click here to get ideas on how to understand the kitchen work triangle, and what layout works best for you.
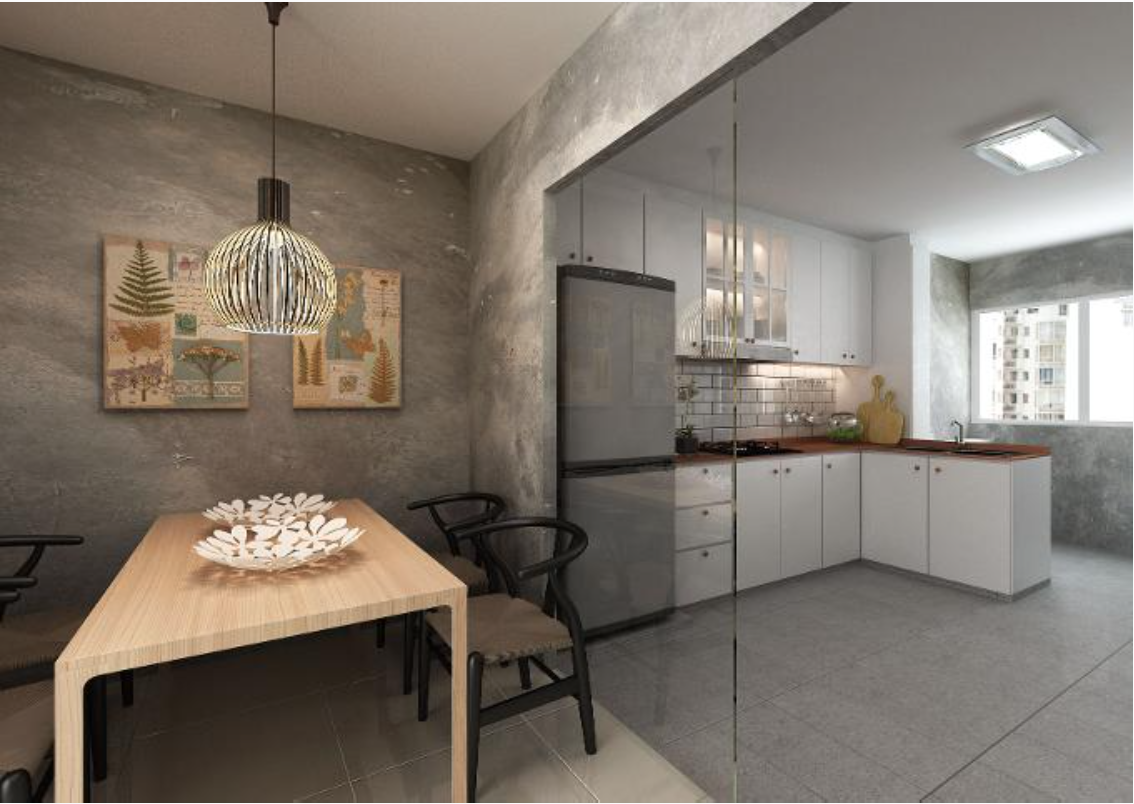
Step 2: Think of how to light your kitchen
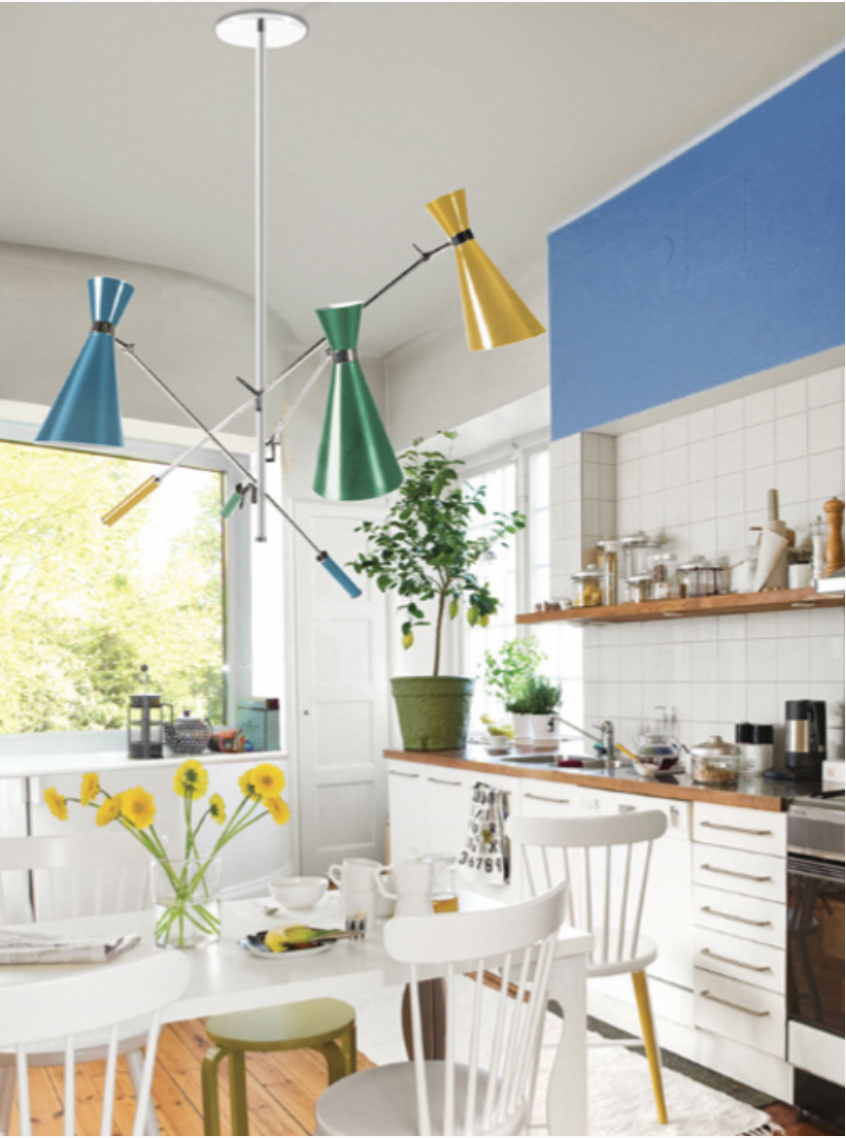
Lighting is crucial in the kitchen, as it is a room that requires you to clearly see what you’re doing—especially when you’re slicing those vegetables. Get tips on lighting the kitchen here.
Step 3: Consult a kitchen designer or contractor

Once you’ve determined the above, you have a choice on whether to work directly with a contractor, or have a kitchen designer work with you. Going with the latter may be a pricier option, but well worth the investment as he or she will be able to advise you on what would work with your preferences. When hiring a contractor, you should also check that your choice contractor is a registered renovation contractor.
It’s also important to note that at this point, you should already have an idea on what appliances will go into your kitchen, in case you plan on replacing your old ones. This will help the kitchen designer determine the size of cabinet units to place in the room.
If you choose to go with the reno on your own, be prepared to do most of the legwork. It may be more difficult, but still definitely fulfilling once you’ve seen the end result. Check this site for more guidelines on what you need to know before beginning your reno project.
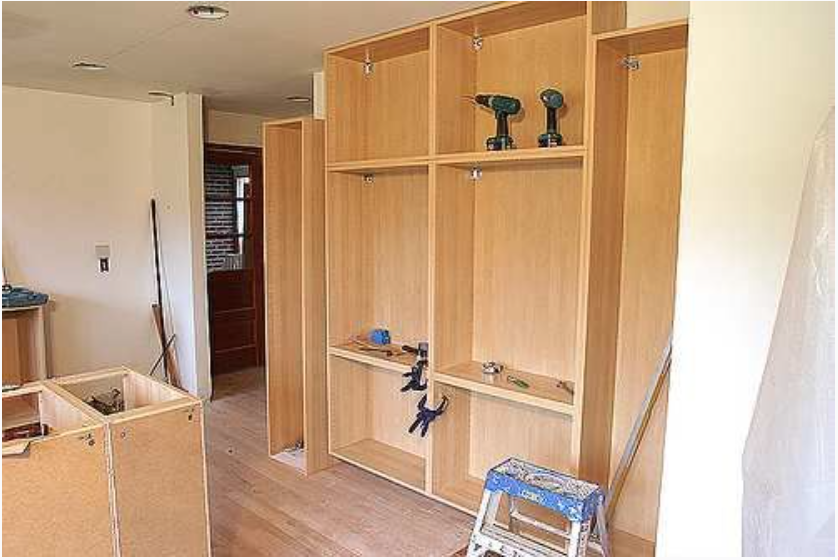
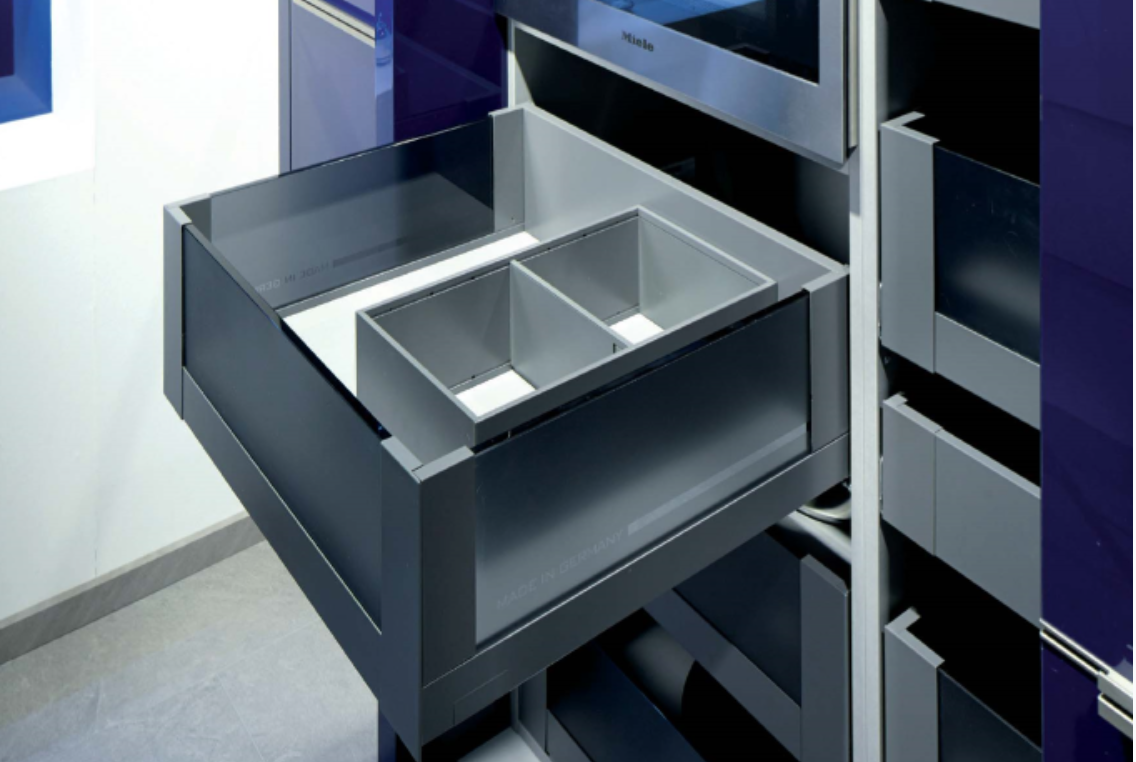
Step 4: Order your cabinet units

When you’ve finalised the plans for your kitchen, have the cabinets manufactured either by your own fitter, or by the kitchen company’s fitter. The latter, again, can be more costly, but also does away with the hassle of figuring out how to install certain units. Note that manufacturing may take a few weeks (to as much as a few months!), so consider this when planning your timeline.
Step 5: Start demolishing old cabinetry
While your cabinet units are being made, take the time to start demolishing old cabinetry in your existing space. Before you start, however, make sure that you already have the proper demolishing and building permits you’ll need to take on the reno project. You’ll also need to follow specific safety guidelines and measures when tearing down built-in furniture or walls. Read this informative piece on what you’ll need to check off on your pre-renovation tasks list.
Step 6: Install electric cables and pipes
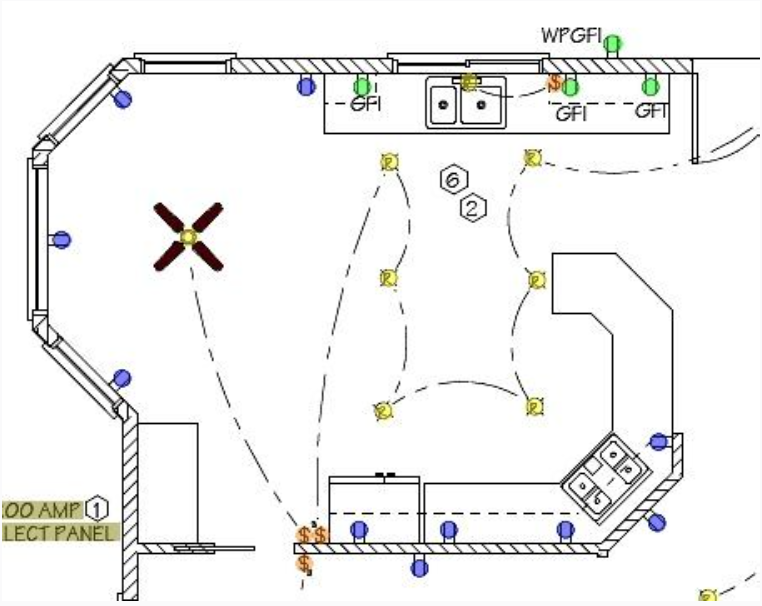
Once your kitchen is bare, have a specialist begin on electrical wiring works and plumbing. Check if you’ve got enough electrical sockets (for kitchens, it’s recommended to have sockets behind appliances and on worktop level).
Step 7: Lay the kitchen floor
Now’s the time to have your supplier or contractor lay the flooring material. Ceramic tiles are one of the most popular materials for kitchens, but you can also use natural stone, treated or engineered wood, marble, or moisture-resistant laminate, vinyl, or linoleum. If your floor is not level, it has to be levelled properly by an expert. Discuss your options with the supplier you’re hiring for this specific job.
Step 8: Prep the walls
Once the wiring and plumbing are done, cover up walls with plaster, and your preferred wall covering. A few coats of paint is recommended, or you can also choose to cover up with tile. Consider also your ceiling and other woodwork in the kitchen, such as window trim or moulding.
Step 9: Expect delivery of kitchen

Around this time, check your schedule for when cabinet units will be delivered and installed. Follow up with your fitter on the delivery date, and when your kitchen arrives, free your schedule up to check if all units have indeed been manufactured to your specifications. If some parts have been damaged, ask your fitter to replace them immediately.
Step 10: Install cabinet units and countertop

When you’re sure that all the cabinetry and appliances have been delivered, have the fitter install the units and worktop first. This may take a few days to over a week.
Step 11: Fit the sink, faucet, and appliances
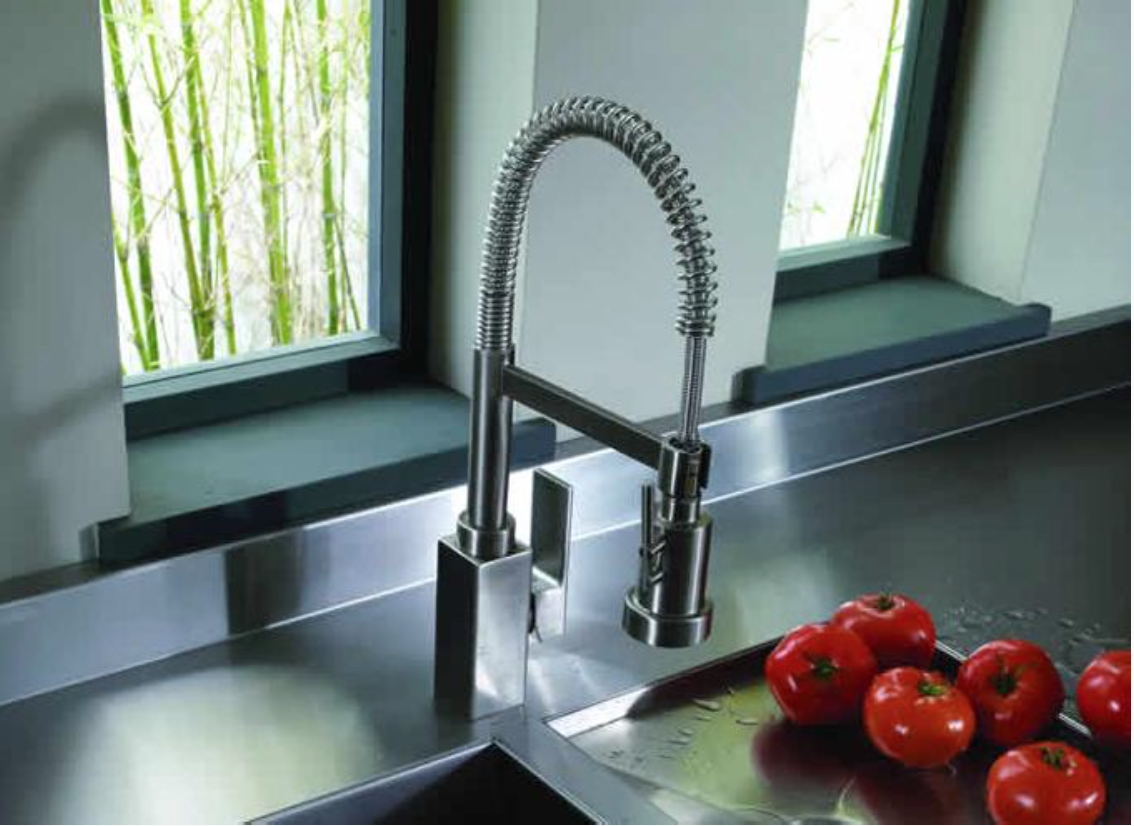


After installing the cabinet units, you may have the fitter or contractor install the kitchen sink/s and taps. While appliances normally can be installed by homeowners, it is best to have a professional connect and check all appliances. Again, make sure that you are following safety guidelines and measures provided for by the government.
Step 12: Install the backsplash, if using
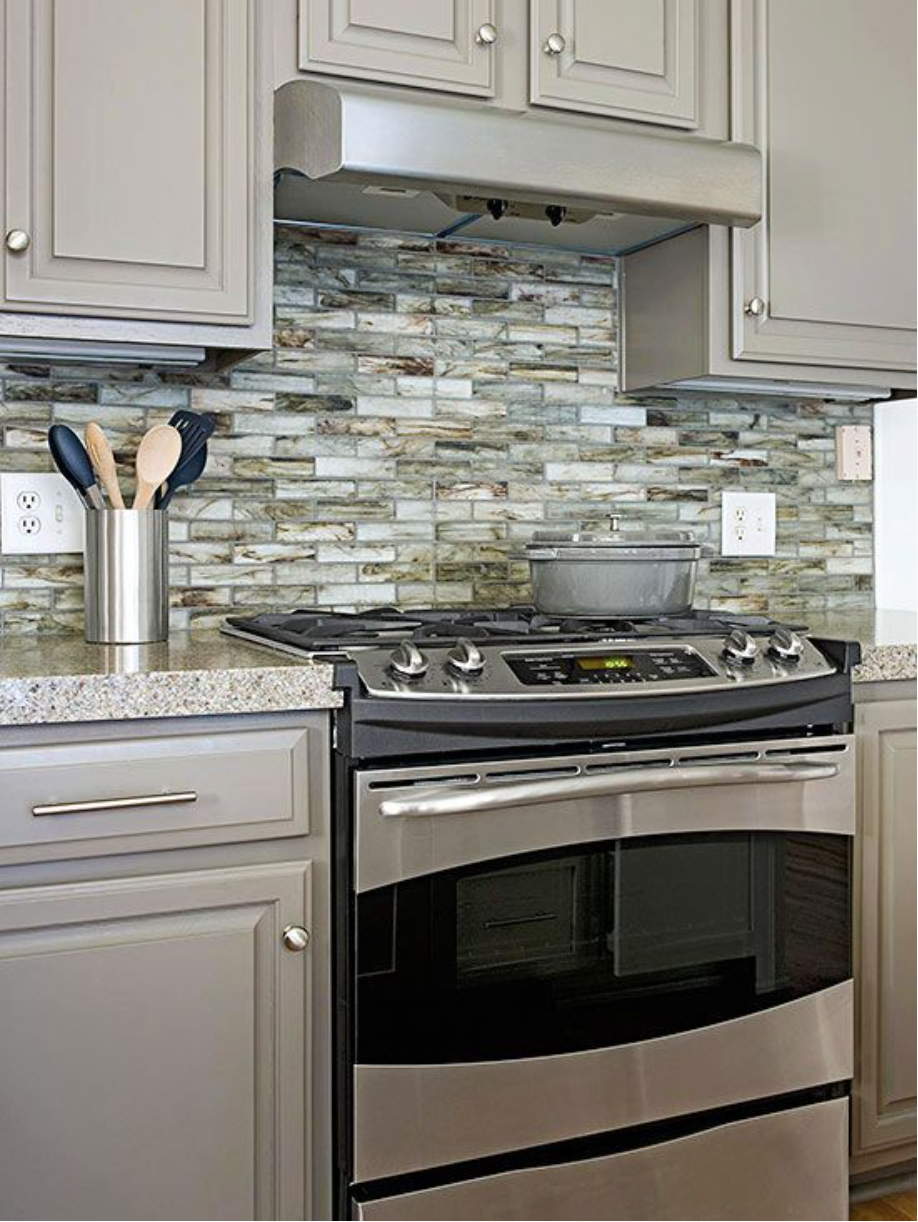
Your kitchen is now looking almost done. If you plan on using backsplash for the wall behind your cooking hob or the sink, install it now. Measure them before fixing in place so that you can account for spaces like electrical sockets.
Get some great ideas for a beautiful kitchen backsplash here.
Step 13: Finish wiring, plumbing works, and install light fixtures

About Cromly
Cromly is an online platform for daily ideas and inspirations on home and living, featuring a wealth of interior design projects, ideas, products and articles. We passionately engage homeowners every day through our sections: Stories, Design, Shop, Catalogue, and Inspiration. Our brand philosophy—Better Homes Every Day—is aimed at the average yet discerning and design-savvy homeowner who is increasingly looking online for affordable solutions and inspirations for their homes.
Looking to sell your property?
Whether your HDB apartment is reaching the end of its Minimum Occupation Period (MOP) or your condo has crossed its Seller Stamp Duty (SSD) window, it is always good to know how much you can potentially gain if you were to list and sell your property. Not only that, you’ll also need to know whether your gains would allow you to right-size to the dream home in the neighbourhood you and your family have been eyeing.
One easy way is to send us a request for a credible and trusted property consultant to reach out to you.
Alternatively, you can jump onto 99.co’s Property Value Tool to get an estimate for free.
If you’re looking for your dream home, be it as a first-time or seasoned homebuyer or seller – say, to upgrade or right-size – you will find it on Singapore’s fastest-growing property portal 99.co.
Meanwhile, if you have an interesting property-related story to share with us, drop us a message here — and we’ll review it and get back to you.
Join our social media communities!
Facebook | Instagram | TikTok | Telegram | YouTube | Twitter


Hi, Nice ideas to renovate a kitchen, but I think you missed out the ventilation part. Proper ventilation is must for a healthy kitchen. Windows help in maintaining proper ventilation of fresh air and sunlight that helps to keep the kitchen germ free and removes odor.