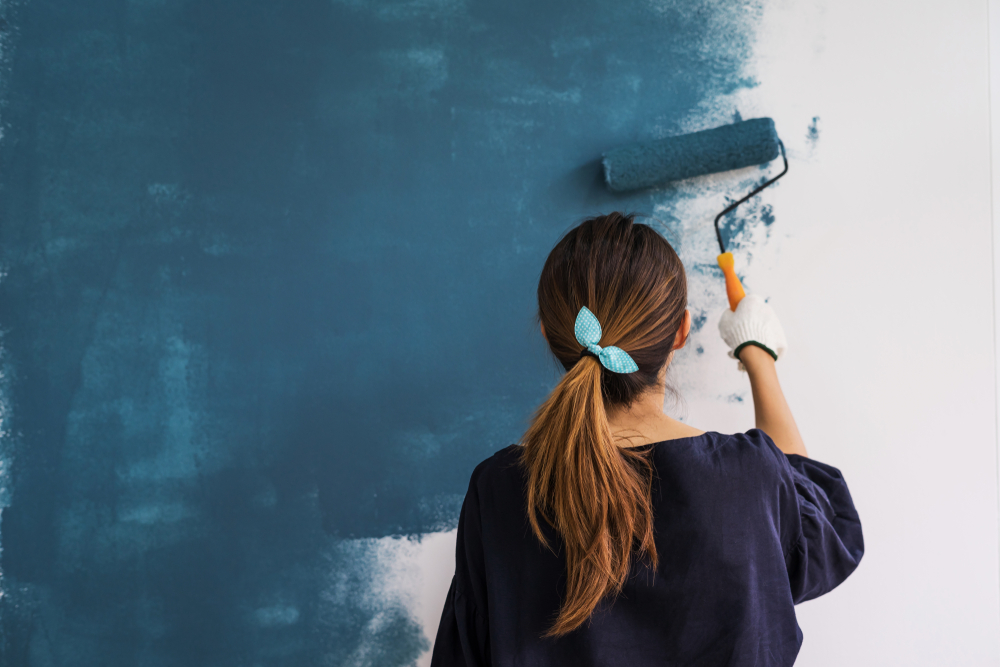
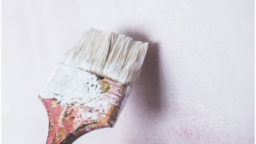
A change in the colour of your walls or a fresh coat of paint is all it takes to improve the look. However, it may be expensive and troublesome to get a professional painter to do the job. So why not take matters into your own hands and do it yourself:
1. Protect Your Room
To do the job well, it’s important to get it right from the start. Prepare your room so that it’s ready for repainting. Clear out all furniture and objects from the room if possible. Otherwise, move heavy and bulky furniture to the centre, away from the walls. Lay the floor and furniture with plastic or old sheets to prevent them from coming into contact with the paint. Ensure you have ample space to move around the room, so that you can avoid touching freshly painted walls.
2. Wipe Down the Walls
Wiping down the walls with a damp cloth removes any dust, and prevents debris from sticking to the paint. This can be done with a damp cloth, dish washing detergent and water. A clean wall ensures a smooth finish.
3. Mend Any Holes or Cracks
Remove any loose paint that is chipping off the walls. You may need paint thinner to do this, if scraping isn’t enough. Remember to wear a mask if you use thinner.
Next, fill in all holes and cracks with spackling paste. Once dried, sand the areas down so that it will be smooth. Remember: never proceed to paint without a smooth surface.
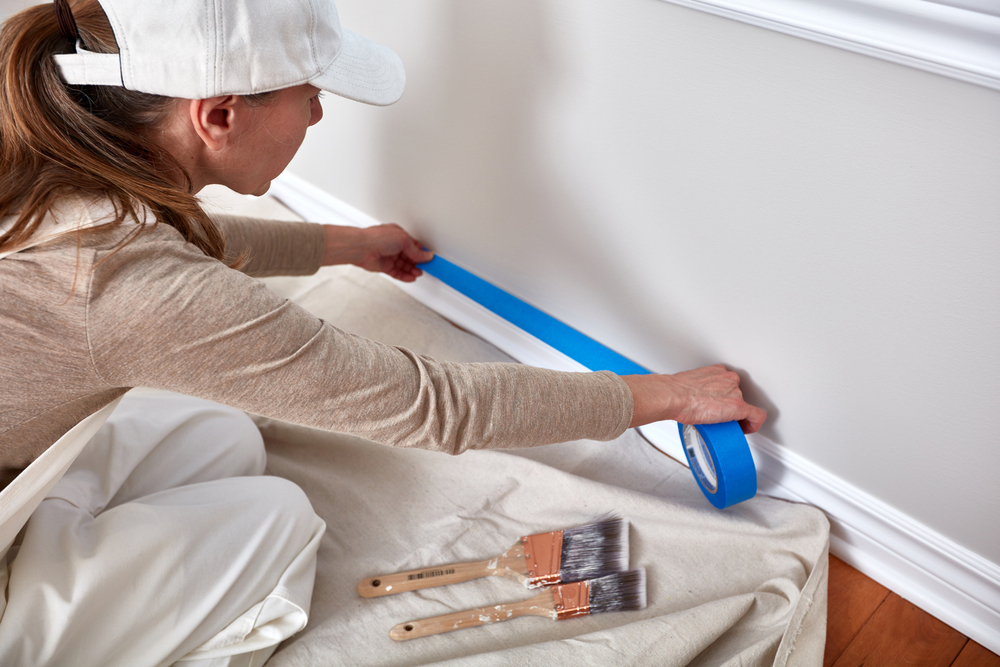
4. Tape Off the Trim and Molding
Although time-consuming, taping around the trim and molding (baseboards, doorframe, crown molding, etc.) is essential. It protects these areas when painting; it also saves you the hassle of any additional touch-ups later should paint get to these areas. However, you must remember to remove the tape before the paint dries to prevent it from peeling off.
You may need to switch to smaller brushes as you near the doorframes or other decorative features, depending on your brush control skills.
5. Prime You Walls
Priming has multiple benefits.The main purpose of a primer to provide a layer for the paint to adhere to; this prevents flaking later on, when the walls are rubbed and touched. But be sure to use indoor and not outdoor primer (the latter is too thick, and may give off toxic fumes in an enclosed area).
Priming also helps to maximise the sheen and coverage of paint. It also provides a smooth and even finish, as it helps create level surface for the paint. However, note that the colour of your primer can affect the number of layers needed – for example, a dark grey primer may require several more layers of white paint, when trying to create a white room.
In particular, note that painting yellow over an especially dark primer can make it look muddy and greenish; always use a brighter, “clean” coloured primer with yellow.
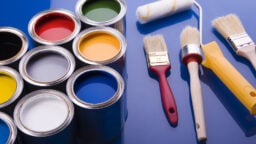
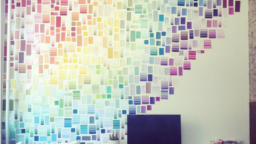
6. Choose the correct type of paint
There are multiple types of paint that give off different look and finishes. Decide what kind of appearance you are going for, test the paint in small portions to see how it looks like under different lighting. Make sure the lighting you use to visualise it is similar to the one used in the room.
An accurate way to do this is to take note of how many lumens the room lights will be, and expose the paint under a light of similar brightness.
As a rule of thumb, the most difficult colours for beginners to handle are white, yellow, and purple. These are the colours most likely to require multiple coats, and look patchy.
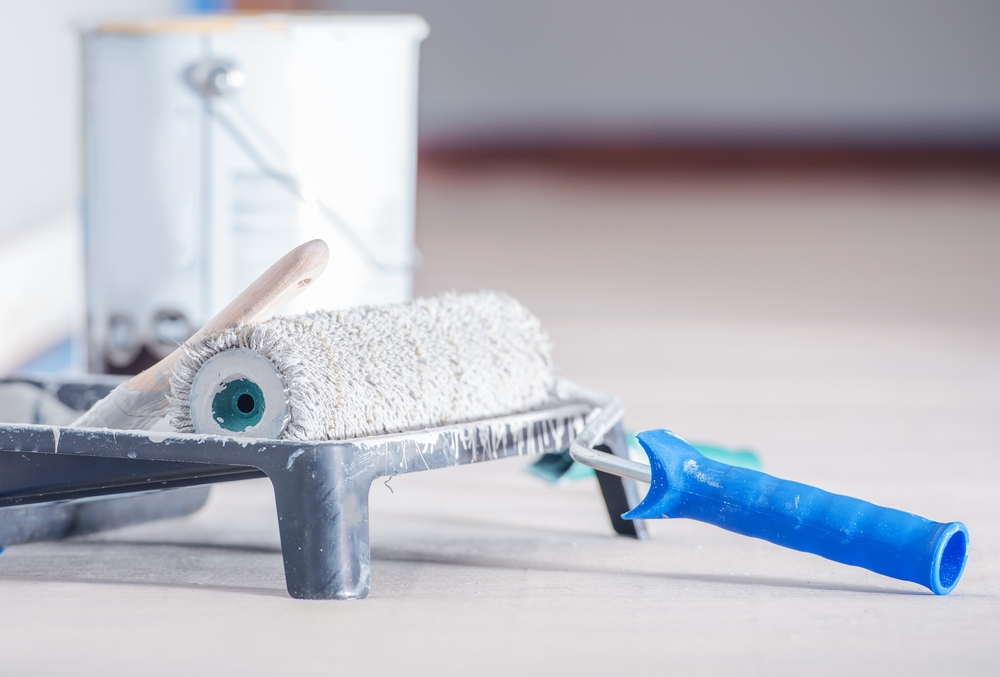
7. Get appropriate equipment
Supplies you will need to include a paint tray, painting brush, rollers, roller extenders and maybe a sturdy step ladder to help you reach higher walls. Use good quality paint brushes and rollers because it will affect how the paint transfers onto the wall – low quality tools will result in more streak marks.
Very low quality brushes often have bristles that break off; these can caught on the paint, and create unevenness. To minimise issues with the brushes, avoid getting the paint onto the ferrule (the metallic portion that connects the bristles to the handle). Once paint dries in this spot, the brush hairs tend to fray.
Do get brushes of different sizes, which will be useful when you need to paint in smaller nooks and crannies.
Follow these steps and you will soon end up with professionally painted walls, at about a third of the cost. You will have to invest time in it though, so be patient. Don’t rush paint, and take your time (you don’t have to do it all in a day, if you’re doing it yourself).
Want to try repainting your walls yourself but still have doubts about it? Voice your thoughts in our comments section or on our Facebook community page.
Looking for a property? Find the home of your dreams today on Singapore’s largest property portal 99.co! You can also access a wide range of tools to calculate your down payments and loan repayments, to make an informed purchase.
About Alexandria Tang
Looking to sell your property?
Whether your HDB apartment is reaching the end of its Minimum Occupation Period (MOP) or your condo has crossed its Seller Stamp Duty (SSD) window, it is always good to know how much you can potentially gain if you were to list and sell your property. Not only that, you’ll also need to know whether your gains would allow you to right-size to the dream home in the neighbourhood you and your family have been eyeing.
One easy way is to send us a request for a credible and trusted property consultant to reach out to you.
Alternatively, you can jump onto 99.co’s Property Value Tool to get an estimate for free.
If you’re looking for your dream home, be it as a first-time or seasoned homebuyer or seller – say, to upgrade or right-size – you will find it on Singapore’s fastest-growing property portal 99.co.
Meanwhile, if you have an interesting property-related story to share with us, drop us a message here — and we’ll review it and get back to you.
Join our social media communities!
Facebook | Instagram | TikTok | Telegram | YouTube | Twitter
Leave a comment